
Do It Yourself: Disney Shirts
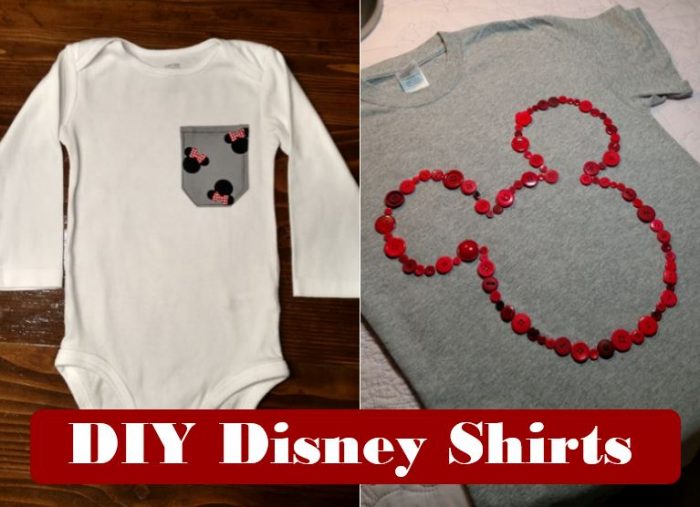 You reserved your resort accommodations, made your advanced dining reservations, and selected your FastPass+ preferences. Now comes the hard part – waiting! Rather than trudge through what will probably feel like some of the slowest days of your life, why not keep that anticipation rolling with some DIY Disney projects? One of my own favorite projects before a Disney vacation is Disney themed t-shirts, so I’ve compiled a list of some of the best ways you can customize your own vacation shirts. It’s time to pop in a Disney DVD and start crafting!
Iron or Sew-On Items
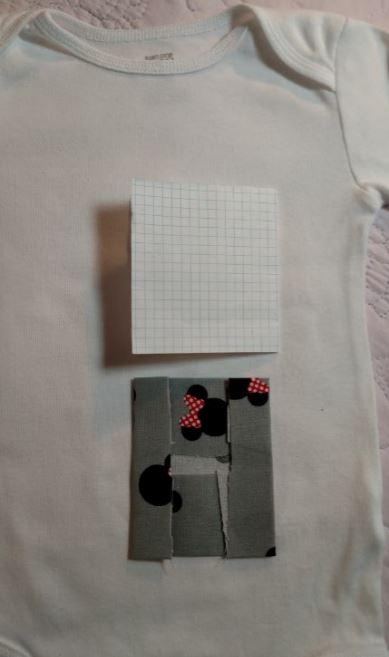
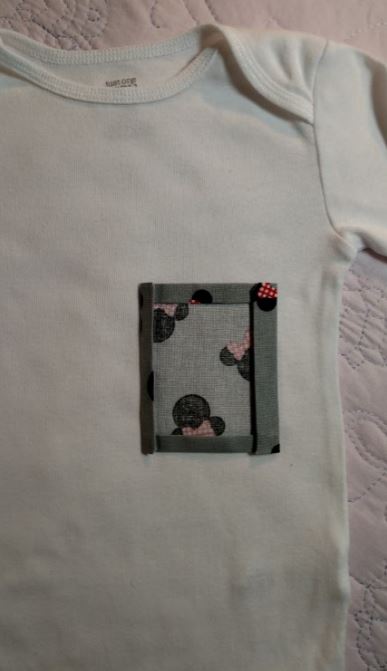
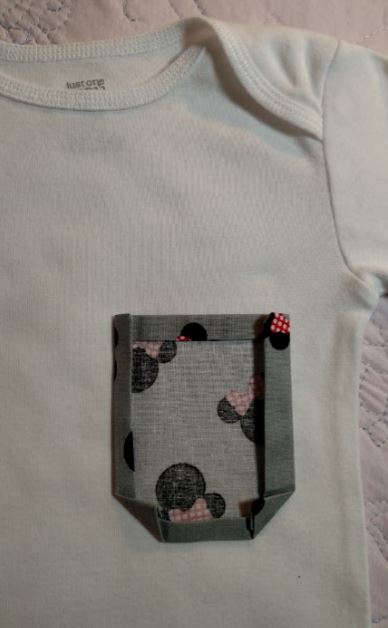
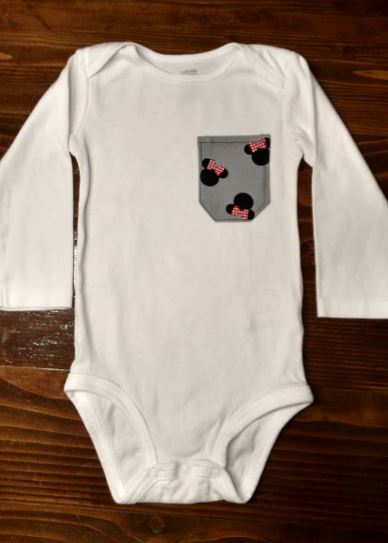
- Pockets ($2-10) – With just a few inches of scrap fabric, you can add a cute little Disney themed pocket to a regular shirt for a subtle but fun design. Hold a piece of paper up to the shirt, and roughly cut it down to an appropriately sized pocket. Then, using that piece of paper, trim the scrap fabric, leaving about a quarter to half inch of extra fabric on all sides. Fold the extra fabric in to form a rectangle about the size of your paper template, and iron flat. For a clean edge inside the pocket, you can create a second fold on each side of extra fabric, and iron again. Then fold in the two bottom corners to make the pocket shape, and iron one last time. If you’re using fabric glue or iron on adhesive, you’ll want to seal all of the edges before attaching it to the shirt. For sewing the pocket on, you’ll want to seal only the top edge before sewing it to the shirt. The three other edges will be sealed when you sew the pocket to the shirt.
- Patches ($5-$10) – Stores like Jo Ann Fabrics or even Amazon have patches that you can either iron or sew on to your clothes to add that Disney touch. Since each patch will be different, follow the instructions provided with the patch. While this route is quick and easy, you don’t have much room for customization.
- Print your own ($5-$15 for packs of 5-10 sheets) – You can buy special paper, again from stores like Jo Ann Fabrics or Amazon, specifically designed for ironing printed designs on to fabric. Pay attention to the instructions, as some are designed for dark fabric, light fabric, or both. Depending on the type of paper you use, you may need to print a mirror image of your design. This method provides you with endless customization options, but setting the paper properly for a long-lasting design can be tricky.
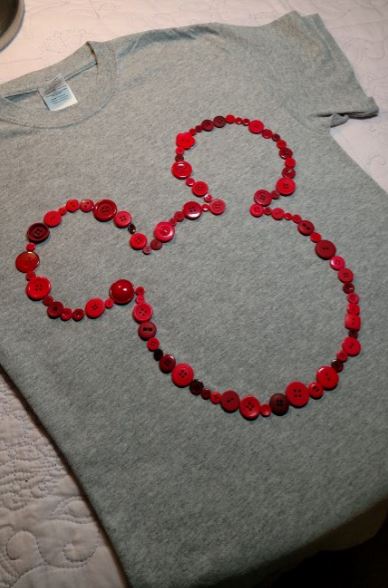
- Buttons or other add-ons ($2-10) – You can apply buttons, ribbons, or other add-ons in the shape of beloved Disney icons for an inexpensive and unique design.
![]()
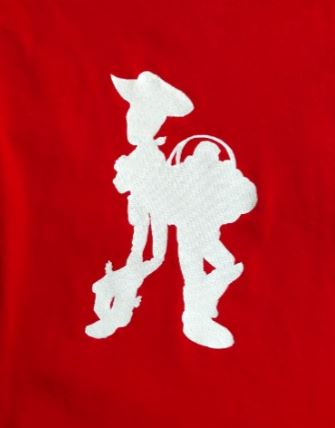
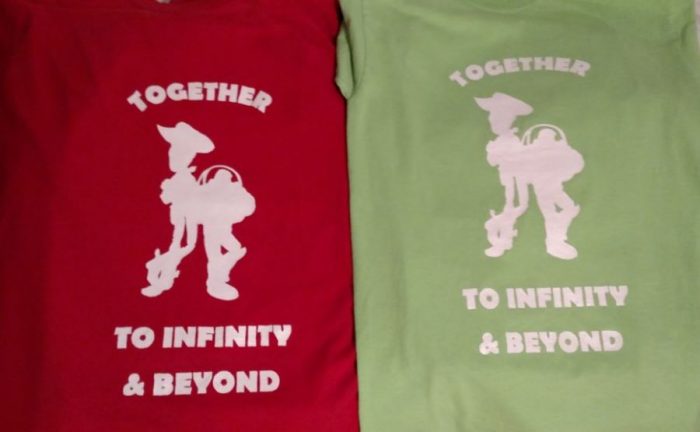
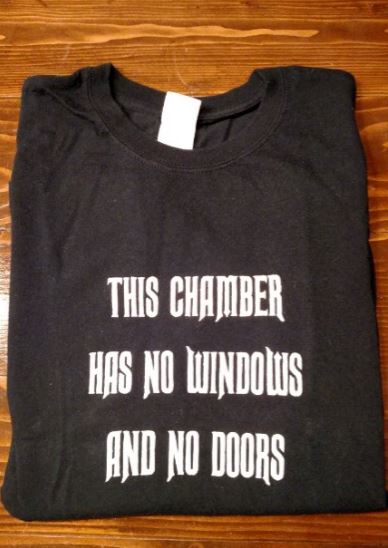
Fabric Paint or Bleach Designs with Freezer Paper
Depending on your level of patience, you can do almost anything with a bit of fabric paint or bleach and some freezer paper. Freezer paper is similar to wax paper, except it is only waxy on one side. This makes it ideal for crafting projects like this because it can be cut into any shape and then ironed on to fabric to create a stencil. It’s also very inexpensive, so the cost of this should come in at under $10.
 Step 1: Design your image. Keep in mind that you will need to cut the design out of the freezer paper eventually. Intricate designs require a steady hand, excessive amounts of spare time, and heaps of patience.
Step 2: Transfer your image to the side of the freezer paper that doesn’t have wax. Methods of transfer include drawing it freehand, taping or tracing the design on to the freezer paper, or even printing directly on the freezer paper. If you decide to print directly on the freezer paper, I recommend running test paper through the printer first. That way you’ll know which side it will print on, and you won’t have to keep trimming freezer paper to the proper size.
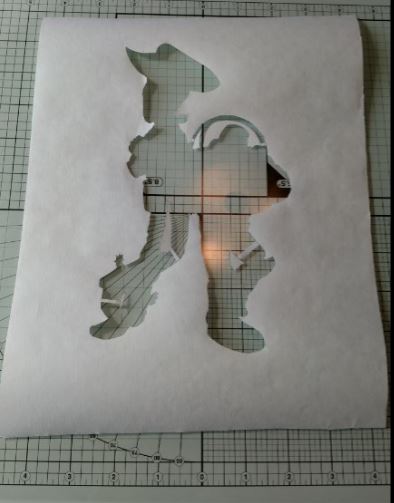
Step 3: Cut out your design. If you picked an easy image, you could probably use scissors to cut your stencil in less than five minutes and proceed to step 4. If you didn’t, well, that’s why there is a step 3a.
 Step 3a: Wonder why you picked such a complex design. Prepare for sore hands from using the X-Acto knife for prolonged periods of time. Shout in frustration when you accidentally cut something off that was essential to your design. And admire your design now forever etched into the cutting board that you used behind your freezer paper so as not to damage anything with the knife.
Okay, in all seriousness, I do have a few tips for the harder designs. If you accidentally cut outside the lines, don’t panic. You may not need to start over. You can put another piece of wax paper over that when you iron it on to the shirt. Also, if you have pieces, like the letter ‘A’ for example, where you still need an inside portion for the design, you can leave a small strip of paper connecting the inside. It will hold the correct shape, and you can remove that extra strip before painting or bleaching.
Step 4: Iron the stencil onto the shirt waxy side down. Before proceeding to the next step, try to gently peel it up in certain spots to verify that it’s sticking to the shirt. This is also where you’ll want to remove any pieces of wax paper that you left for spacing purpose.
Step 5: Place something inside the shirt to prevent paint or bleach from soaking through to the other side. My go-to is cardboard with a layer of aluminum foil over it.
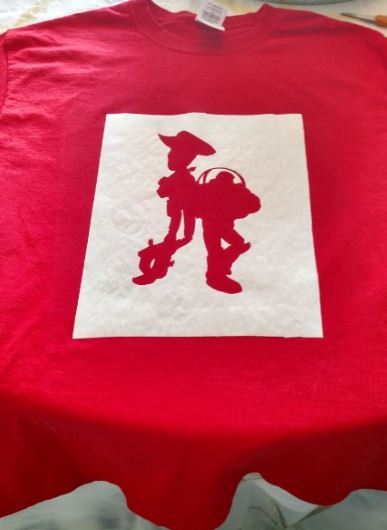
Step 6: If you’re using bleach, you can use a spray bottle, bleach pen, or even a toothbrush to apply it. For fabric paint, I squirt some paint on to aluminum foil and then use a sponge-like applicator to transfer to the shirt.
Step 7: Let it dry for a bit and then peel off the wax paper. Ta-da!
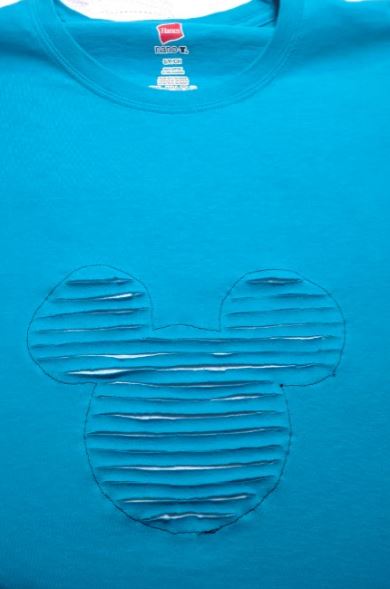
Cutting
This one will be quick and easy!
Step 1: Trace your design on to a scrap piece of fabric, and cut the fabric to size, leaving a narrow border.
Step 2: Flip your t-shirt inside out, and attach the scrap piece of fabric by either sewing, gluing, or using an iron on adhesive.
Step 3: Flip the t-shirt back again, so the scrap fabric is back on the inside of the shirt. Depending on the look you want, you can use a ruler to draw straight lines across the design, or you can freehand shapes to cut out within your design.
Step 4: Cut along the lines or shapes of the top layer of fabric only. I found it easiest to pinch the top layer, make a small incision, and then lay it flat to cut across the entire line. That’s it!


I’m sure there are tons of other ways to make DIY Disney shirts, but hopefully this is enough to get your imagination flowing. Do you usually make your own shirts for Disney trips? I’d love to hear about it in the comments below!
You May Also Like...
-

New princess shirts have appeared at Walt Disney World. These shirts are $19.99 each and feature a pencil sketch design, glittery…
-

Disney continues to offer new merchandise with a rainbow color scheme. This rainbow Mickey fleece is $39.99. We've seen it in…
-

There are quite a few icons that Disney fans absolutely love. Figment and Orange Bird come to mind, and they are…
-

Ho! Ho! Ho! It's now winter holiday season at Disney and that means it's time for holiday-themed tees to appear in…
Thanks so much for the article.Really thank you! Keep writing.
Thanks , I’ve just been searching for info approximately this subject for a long time and yours is the greatest I’ve found out so far. However, what about the bottom line? Are you certain about the supply?
http://goodtip.eu
Just me or does that cutout of Buzz and Woody look more like a centaur? lol
Haha who knew painted t-shirts could turn into an ink blot test! I don’t see it. Which end is the head?
These are brilliant ideas – and I just have one thing to add. When cutting out that freezer paper – skip the x-acto knife and shouts of frustration and find a friend who owns a Cricut cutting machine. Buy them a cup of coffee in exchange for using their machine for 5 minutes to cut out your design. Much easier!
I made 27 freezer paper stencil/fabric paint shirts for my kids (3 kids x 1 shirt for each day of our trip) earlier this year. I started by cutting by hand but decided to invest in a Cricut machine after about the 4th shirt (I’ll use it for lots of other stuff as well). I love the machine and loved making the kids shirts for our trip!
That sounds great, especially if you’ll use it again!
Great tip! I actually tried that, but it kept ripping the freezer paper. Definitely a user error though, and I’m happy to hear it worked for others 🙂