
Creating Your Own Custom Pin Art: A Tutorial
As far as souvenirs go, Disney pins are pretty high on the list for unique and fun merchandise. They have pins for characters, pins for rides, pins for special events and anniversaries, and pins for everything in between. Chances are you’ve seen a wide variety of pin offerings on your trips to various Disney locales. I love Disney pins. My husband and I are always quick to buy pins for special events and to mark specific trips. If we stay at a new resort, we’ve got to get the pin. If we visit during Food and Wine or Flower and Garden, we’ve got to get the pin. This is one of our traditions, and it isn’t one that will be going away any time soon.
The big question then becomes – what do you do with all these Disney pins? As someone who uses the pins to remember our trips, it is important to me that they don’t end up packed in a shoe box under the bed, never to see the light of day again. Enter my crafty side. Through trial and error (the first few attempts were NOT GOOD) I came up with a method for creating pin art. This is a fairly simple craft project that just about anyone can do. (Truthfully, the hardest part of this process is laying out the pins and getting them situated just right in the artwork.) This tutorial will walk you through the entire process and gives tips and lessons I’ve learned in creating a few of these over the years. (Spoiler alert – I learned a brand-new lesson with the pin art I created for this tutorial!)
Obtaining Pins and Pin Trading
I’m going to back things up for a moment and give a quick refresher on how to get Disney pins. First, there’s the method that my husband and I use most of the time. We purchase a lot of the pins we want. Usually we’re commemorating something specific with our purchases, and this method really works for us. However, we used to be avid pin traders.

Pin trading is exactly what it sounds like. You trade a pin you have for a pin someone else has. Usually this is done by trading with cast members. Many cast members have lanyards with pins on them, and you can walk up to any of them to offer a trade (except the cast members with green lanyards; they only trade with kids). In addition, there are a lot of stores that have pin boards, and the concierge desks at the resorts have entire pin binders that you can flip through to look for pins you’d like to trade for. There are a lot of pins that can’t actually be purchased in shops – you have to trade for them with cast members. Depending on your viewpoint this can either be extremely fun or extremely annoying.
In the interest of being thorough, I’m going to mention something that is controversial in some circles regarding pin trading. That is the subject of eBay. You can purchase large lots of pins relatively inexpensively on eBay, and then take those pins into the parks to trade with cast members. The controversial part comes from the fact that it is hard to know whether or not these are 100% authentic Disney pins. There are fakes that exist, but they can be hard to distinguish them from the “real things.” Regardless, the pin lots you buy on eBay are completely tradeable in the parks. I have used this method multiple times in the past when we were more focused on trading.
Planning Your Pin Art
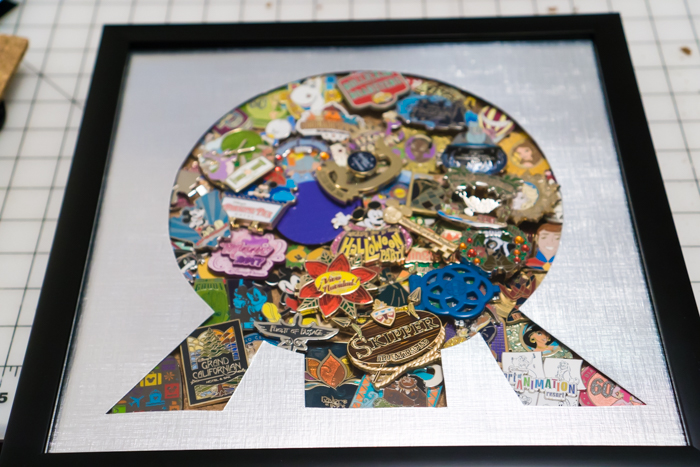
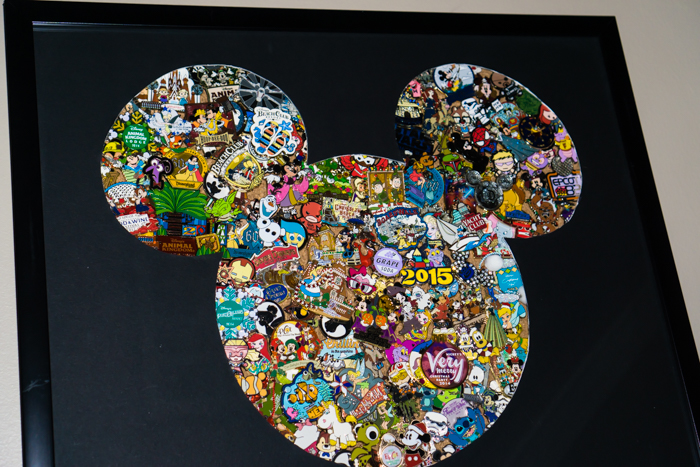
So, you’ve purchased or traded for pins and now you’ve got a giant stack of them that need a home. The first thing you want to do is determine what silhouette you should use for your pin art. I find that the best options are those that include a large open space for you to display your pins. A Mickey head or Spaceship Earth is a great choice because those patterns don’t really have tiny nooks and crannies that you’ll need to fill in with pins.
For example, my husband and I have discussed doing one with Cinderella’s Castle, but we know that the turrets get extremely narrow at the top. We’d have to use pins to fill them in, but you wouldn’t really be able to see the pins in those sections. For us, it’s better to have a wide-open space. If you’ve got a lot of “filler” pins that you don’t need displayed to their fullest, maybe Cinderella’s Castle is right for you.
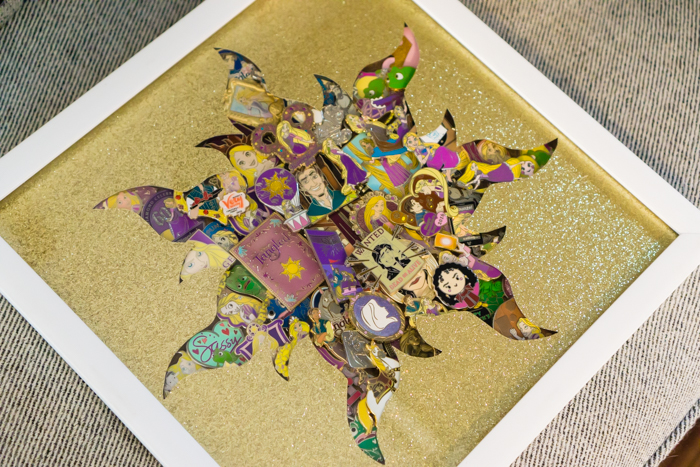
Another option you have when choosing a silhouette is picking something that fits the theme of the pins you’re displaying. I collect Rapunzel-themed pins, and when I obtained enough for a piece of pin art I went with the sun design from Tangled. It showcases the pins extremely well, and it is a recognizable design. Our other pin art consists of pins commemorating our trips, so we went a little more generic with the designs for those. I could see someone who collects Little Mermaid pins doing a shell design, or Beauty and the Beast pins doing a rose design – the options are endless!
I suggest looking online for various images that you can use as your silhouette, and pick something that works for you. The Mickey head is a great one to start with, but feel free to get creative!
Pin Art Tutorial
Materials needed (I purchased all of my materials at Jo-Ann Fabrics; you can always find coupons online, and they also accept coupons from Michaels and Hobby Lobby. There is no reason for you to pay full price for anything on this list. I spent about $22 for the frame, paper, and a pack of four cork tiles.):
- Assortment of pins
- 12 in. X 12 in. Shadow Box Scrapbook Frame
- 12 in. X 12 in. Cardstock Weight Scrapbook Paper (make sure you get the heavier weight; it’s easier to work with)
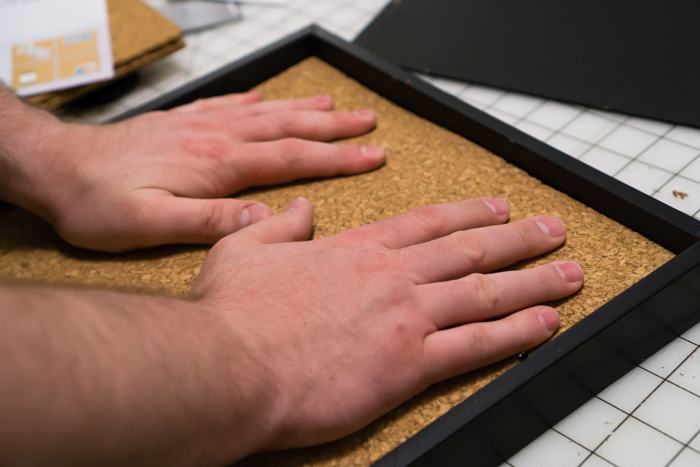
- 12 in. X 12 in. Cork Tile(s) (or cork sheet you can cut to 12 in. X 12 in.)
- Printout of Silhouette customized for 12 in. X 12 in. size
- Scissors
- Tape
- Ruler
- Sharpie/Pen/Pencil
- X-Acto Knife
1) Find the silhouette you’d like to use for your pin art. Open Word. Change the page size in Word to 12 in. X 12 in. and the margins to narrow. Paste the silhouette into Word. You’ll have to change the wrap text feature to “in front of text” by right clicking on the image. Then you can move and resize the image to fill the page. Play around with the design until you like the size. Setting the page to 12 in. X 12 in. really helps you visualize how it will appear on the pin art.
2) Once you like the way your silhouette appears, export the design to an Adobe PDF, or use the print to PDF function. Open the document using Adobe Acrobat Reader. (If you’d like to use my Spaceship Earth design, click here to download it.)
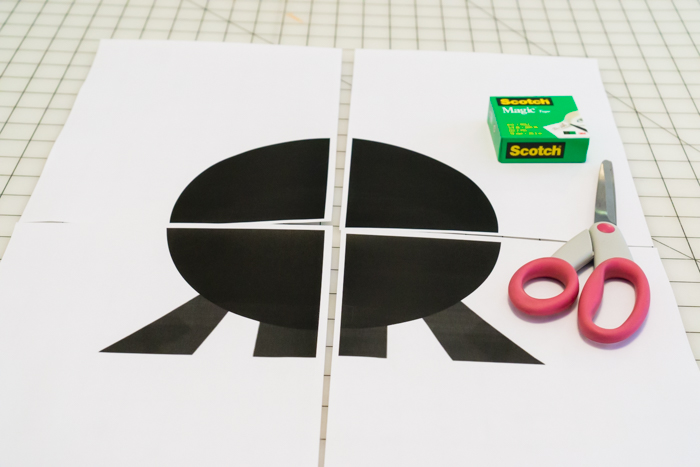
3) Select print, and change the “Page Sizing & Handling” options to “Poster.” This will print the design on four pages that you can tape together to give you the full-size image. You could print it on a single 8.5 X 11 page, but I don’t believe that maximizes the 12 in. X 12 in. frame you have to fill. I much prefer to add a couple of extra steps in, but your mileage may vary.

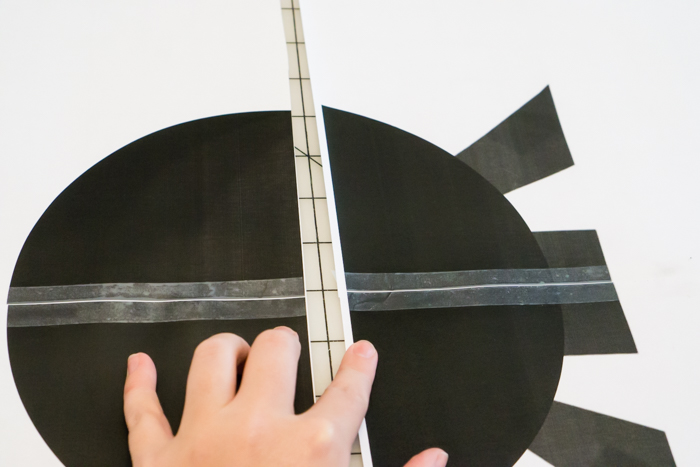
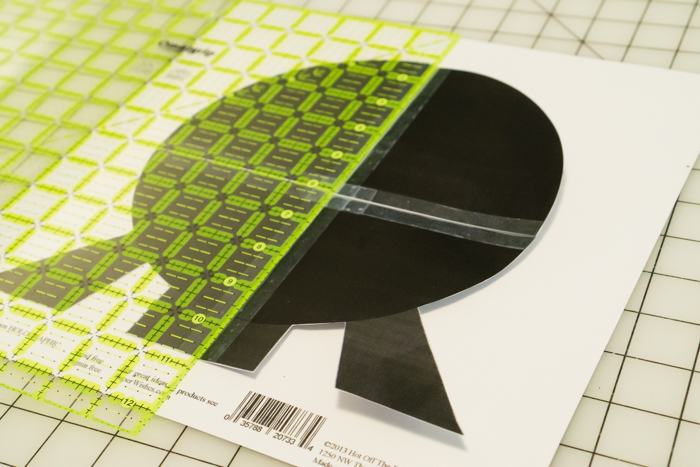
4) Now you just need to trim and tape together the four pages that make up your design. I cut the margin off one side of paper, and then overlap it on the margin of the other to tape them.
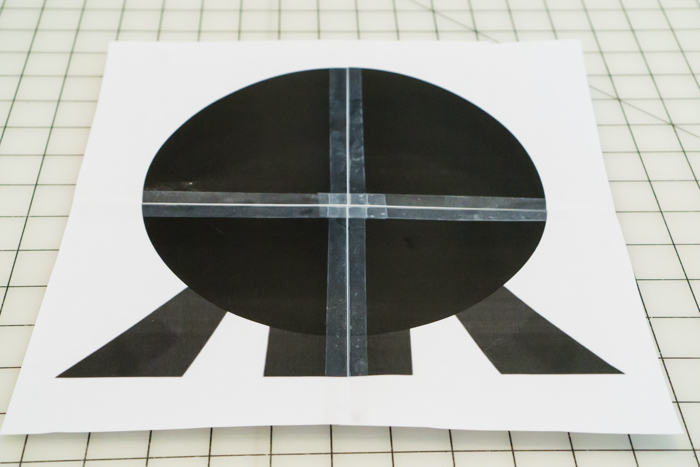
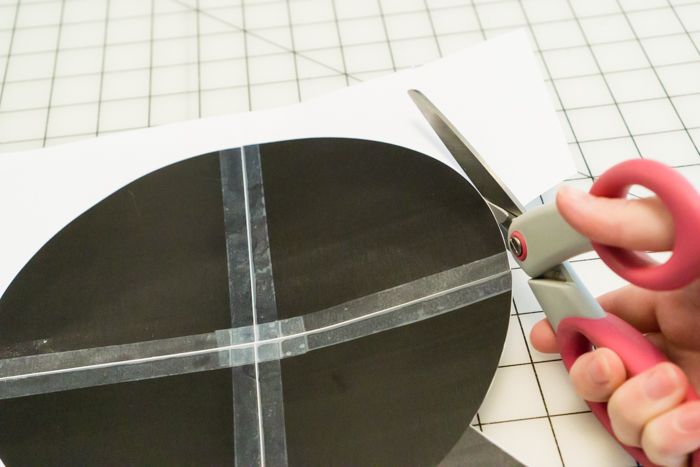
5) Once your pages are taped together, cut out the entire design.
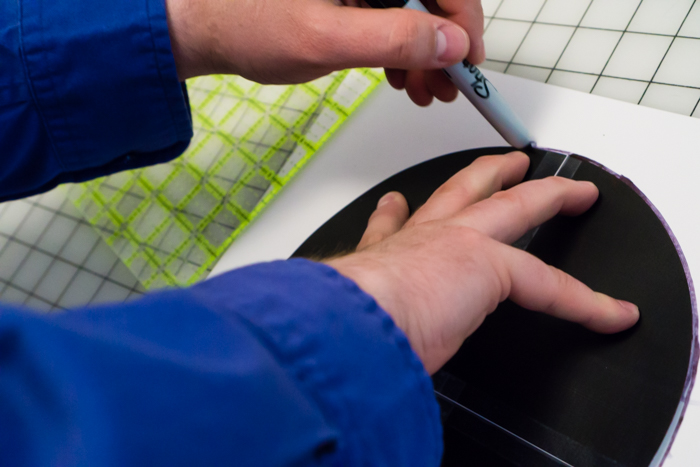
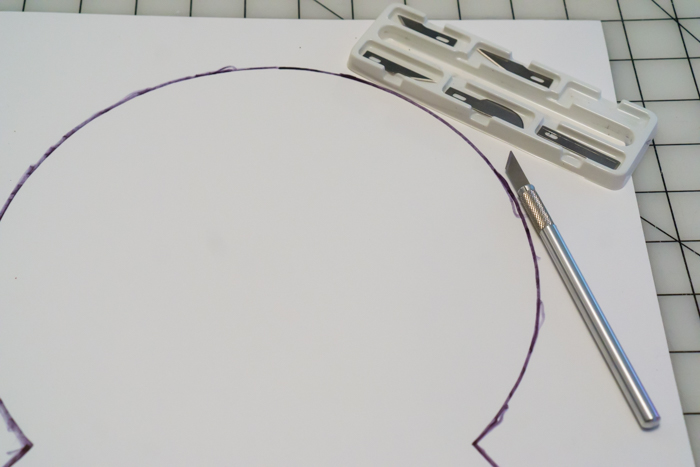
6) Next, you will trace your design onto the back of the cardstock scrapbooking paper. If your design isn’t directional (Mickey head, Spaceship Earth) it doesn’t matter how you lay the silhouette down for tracing. If it is directional (Cinderella’s Castle), make sure you flip the silhouette so that when you trace it on the back, it will be cut out facing the correct direction on the front. Use a ruler to center the design on the scrapbook paper, or eyeball it if you want it to appear a certain way. We traced our design using a sharpie. As long as the paper is thick and it won’t bleed through, you can use any marking utensil you’d like to trace the design.
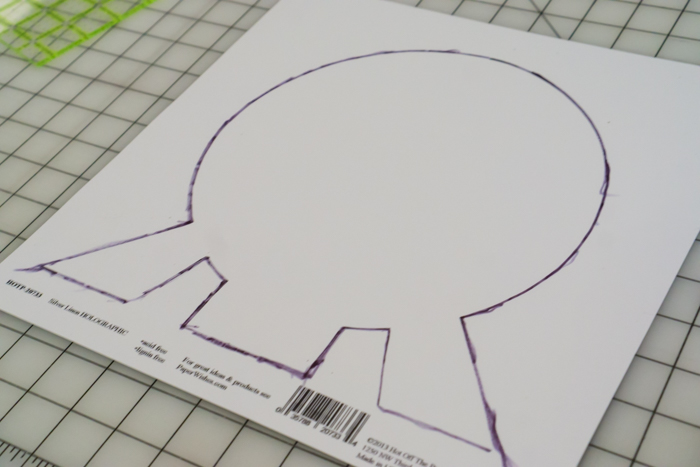
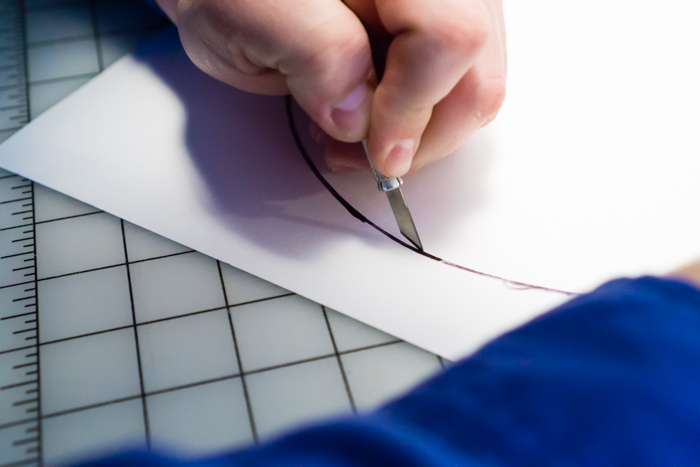
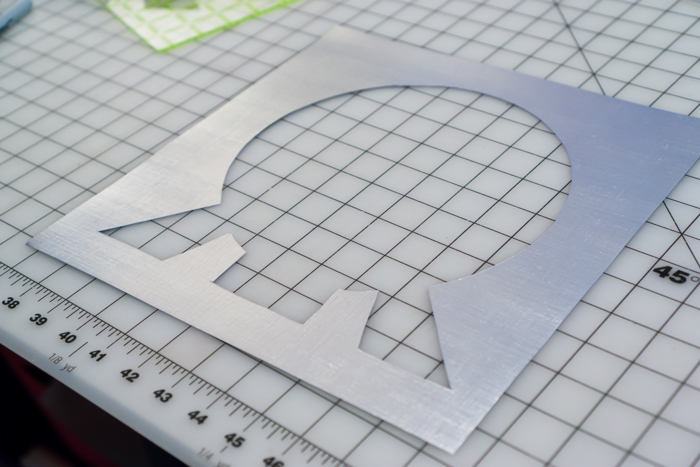
7) Use your X-Acto knife to cut the design from the paper. You want this to be as crisp and smooth as possible, so make sure someone with a steady hand does this part. This is also the one step that I would suggest parents do, if they’re making the art with their kids.
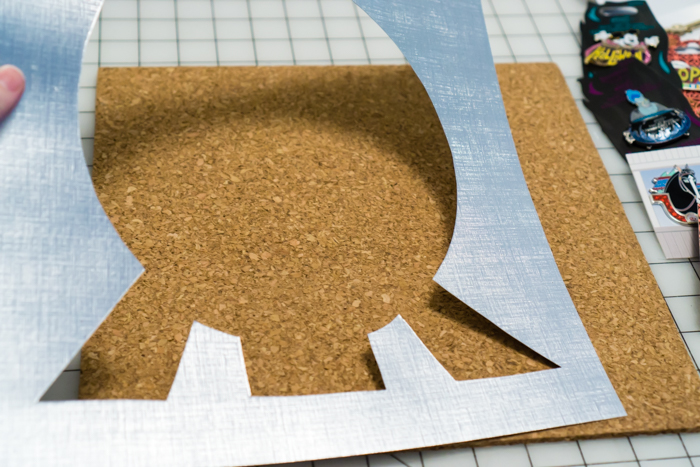
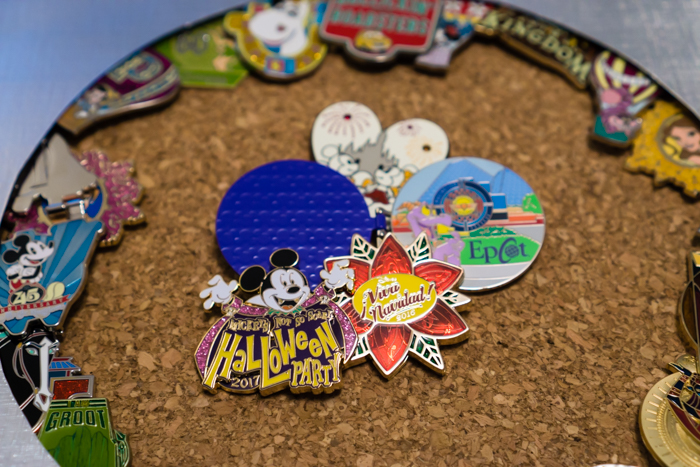
8) Now it’s time to break out the pins! Lay out your cork and set the cardstock with your silhouette on top of it. This is going to be your guide as you stick your pins to the cork. Before you start placing the pins, I’d suggest that you separate your pins into a couple of groups. One should be pins that you absolutely want to showcase. The other should be pins that you don’t mind using as filler. There will be spots where you’ll need to put pins that you simply can’t see, and if you’ve got a stash of less important pins, now is the time to use those. Some of my leftover eBay pins came in quite handy for this.
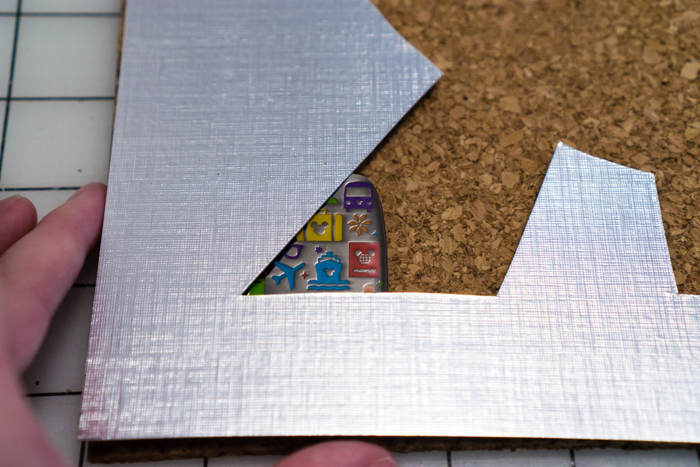
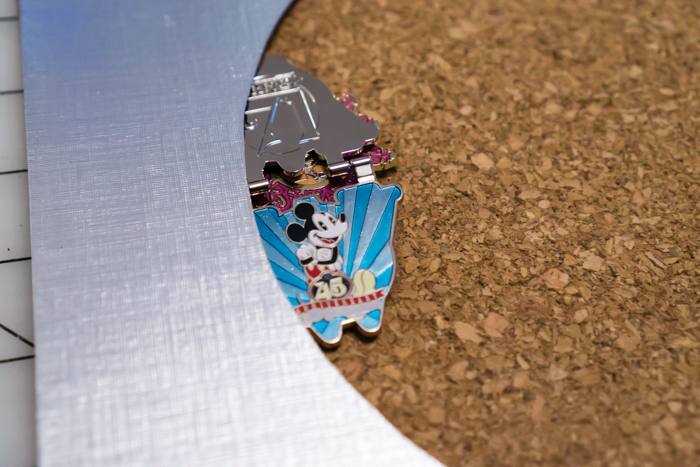
9) The easiest way to start placing pins is to start on the edges of the silhouette. I know it’s tempting to start to sticking pins in the middle of the design, but it is far easier to get the edges situated and then to fill in from there. Try and find pins that are ideal shapes for the corners and curves of the edges. Also, you absolutely need to be aware that you will be adjusting and moving these pins REPEATEDLY! Seriously, you should try to make sure you have a little extra patience on hand, because it can get annoying.
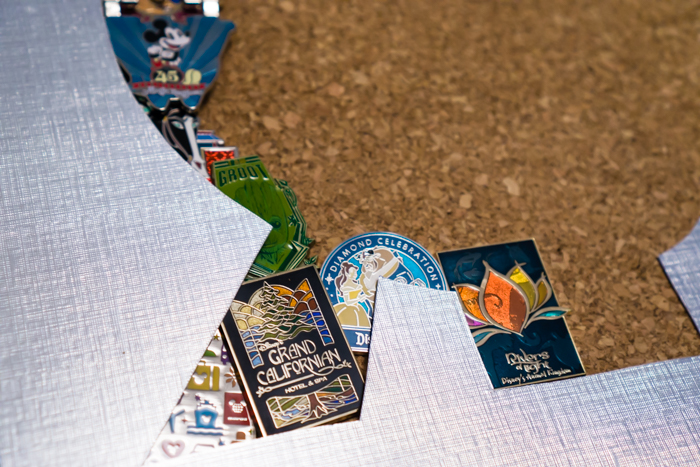
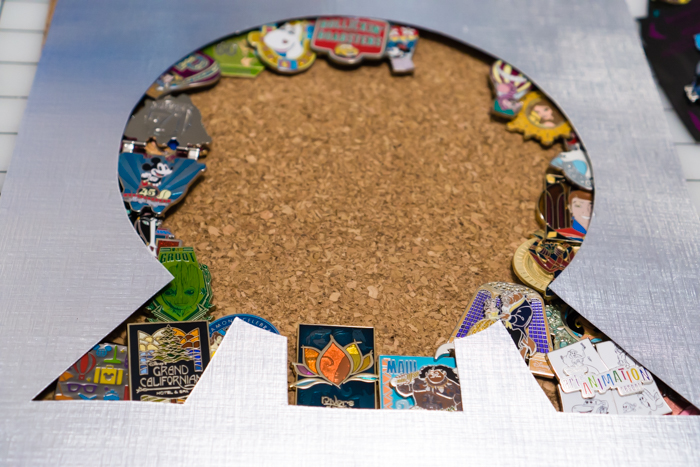
10) Once you have your edges filled in, then you can move on to the main event. Start in the center and just work on laying out the pins and overlapping them to fill the space. Again, you’re going to have to move them around hundreds of times, so make sure you resign yourself to that fact!
I have a few tips and tricks to offer in regards to laying out the pins. First, we learned this time that we REALLY needed to lay off the 3-D pins. Holy cow, 3-D pins make this WAY harder! I don’t know how we ended up with so many pins in this category, but it was definitely a mistake. They’re harder to layer and they make the last step a lot more difficult. So be warned!
The same thing can be said for pins that open. Again, I don’t know how we ended up with so many pins on hinges that open, but talk about making life difficult! There are a couple of challenges with these types of pins. First, you have to decide if you want to display them open or closed. You only get one choice, so make sure you consider both options. Second, they’re a lot thicker than regular pins. Just like the 3-D ones they’re harder to layer and harder to work with. And if you open them, there will be a spot through them where you can see the cork, so you’ll have to try and layer a pin behind them to hide that.
Another tip – say you have a pin that has large cutout spaces in it that are going to show the cork. Dig through your filler pins and see if you can find one that fits behind the first pin, so you can add them to the artwork together.


Lastly, if you find that the pins aren’t laying correctly or you can’t get them to do what you want, try overlapping them in different ways. Working on this piece of artwork is kind of like working on a giant puzzle. There is nothing wrong with trying multiple solutions.
11) Once your pins are all in place and you’re satisfied with the design, it’s time to put the artwork together. Slide the black frame backing underneath the cork. (It should be silhouette, pins, cork, and then frame backing at this point.) Then take the frame and glass and place it over the artwork. Since everything is the same size, you will have to shimmy the frame and glass to get it all to fit together.
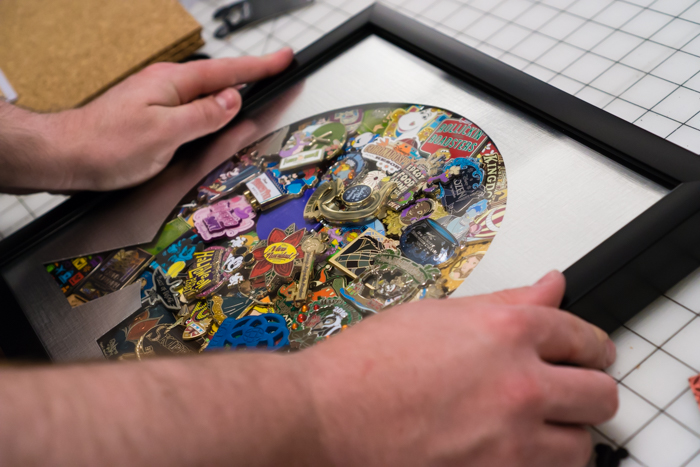
Smash all your layers together (really, if you’re too ginger about it you’ll have pins shake loose and you’ll have to take it apart again to fix it), and push firmly from the back. You’re going to want to flip the entire piece of artwork over so that the backing is face up and the glass is face down. If you don’t do it smoothly, pins will fall, which you’ll have to fix. And let me tell you, it is no fun to have to dissect it to fix pins.
With this particular piece of pin art, we ran into an issue we’ve never had before. Because of our numerous 3-D and hinged pins, our art work was lot lumpier than it’s ever been in the past. As a result, it was having enormous pin-falling issues. We addressed this by putting two more of the cork sheets in the back of the frame as padding, and smashing it all down as best we could. When we’ve made pin art in the past with flat pins, we have only used a single piece of cork. This is just something to keep in mind. If you pin art is too loose, trying filling the frame with foam board or additional cork. Once we added the additional layers, everything stuck together just fine. After adding the additional cork, we secured the black frame backing to the art piece, and voila! We were done!
FINAL THOUGHTS
As I mentioned previously, this method of pin art came as a result of some trial and error. I do want to address one of the things I learned on previous forays, in the hopes that it can help you as you find the method that works best for you. I highly recommend that you don’t go larger than the 12 in. X 12 in. size I walk you through here. Not only is it super convenient that you can get all the pieces you need in the same size, but it’s also for practicality’s sake.
The first successful pin art we made is actually about 21 in. X 17 in., and it just about killed us. Once you have that many pins, and that many heavy pins, all stuck into cork and layered on top of each other, nothing short of a miracle will keep them in place. I have no idea how we finally managed to get those pins to stay where they were supposed to – I suspect pixie dust. I try not to breathe on that thing when I walk by it, because I’m afraid that the tiniest nudge will cause all those pins to come cascading down, like they did repeatedly until we finally magicked it together. So please, save yourself the headache and stick to the 12 in. X 12 in. size. It is MUCH easier.
There you have it! A method for making your very own pin art. If you have any questions about this tutorial, please leave a comment and I’ll try and help you through it. And if you make some pin art of your own, please send me a tweet (@Angela_Wilhelm) so I can see what you did!
You May Also Like...
-

Did you know you can make your own art at the EPCOT International Festival of the Arts? You can visit the…
-

Many of the Walt Disney World hotels have resort-specific merchandise. We think the Art of Animation merch is some of the…
-

In merchandise articles, we frequently get asked if we can share pictures of the pins available at Disney Parks. Truth told,…
-

We’re here with a series of quick posts, “Disney in a Minute,” bite-sized nuggets of information that can better help you…
What a terrific idea! I love how these came out. I have a bunch of Small World pins and now I’m busy thinking about what silhouette I could use!
A question for you, Angela — what about using foam board instead of cork? Would the foam board be too thick?
I think foam board would work just fine! You’ve definitely got some width to work with since you’re using a shadowbox frame. You’ll probably need to be a little careful since the holes won’t “heal” the way they do when you stick pins in cork, but if I didn’t have cork on hand, I’d definitely use foam board as my backup.
I wonder if the Small World façade would be recognizable as a silhouette… maybe if it included the windmill. (Now you’ve got me thinking about it!!) 🙂
Maybe I’ll stick with cork but have some foam board on hand just in case. Thanks for the info!
Using a small dab of hot glue on the pin before you stick it helps too, but make sure it’s going in the spot you need. It’s a great idea for those drawers of pins we have and tons of full lanyards laying in boxes.
Great tip, Mark! Unfortunately for me, I don’t have the temperament to be able to glue the pins in place. 🙂 I move them around way too much for that! But if you’re set with where you want things, glue would definitely help.
I love this idea! About how many pins did you use in the spaceship earth one?
I’d say about 50, maybe a little more. We did have a couple in there that we opened up, so they took up twice the space than they would have if we’d left them closed. (I was glad I had a little stash of filler pins to use in some of the more awkward areas!)
Angela, I love this idea!!! Thanks for sharing in such a detailed way. I need to dig my pins out and try this. Your projects turned out so great!
Thanks, Kim! 🙂